

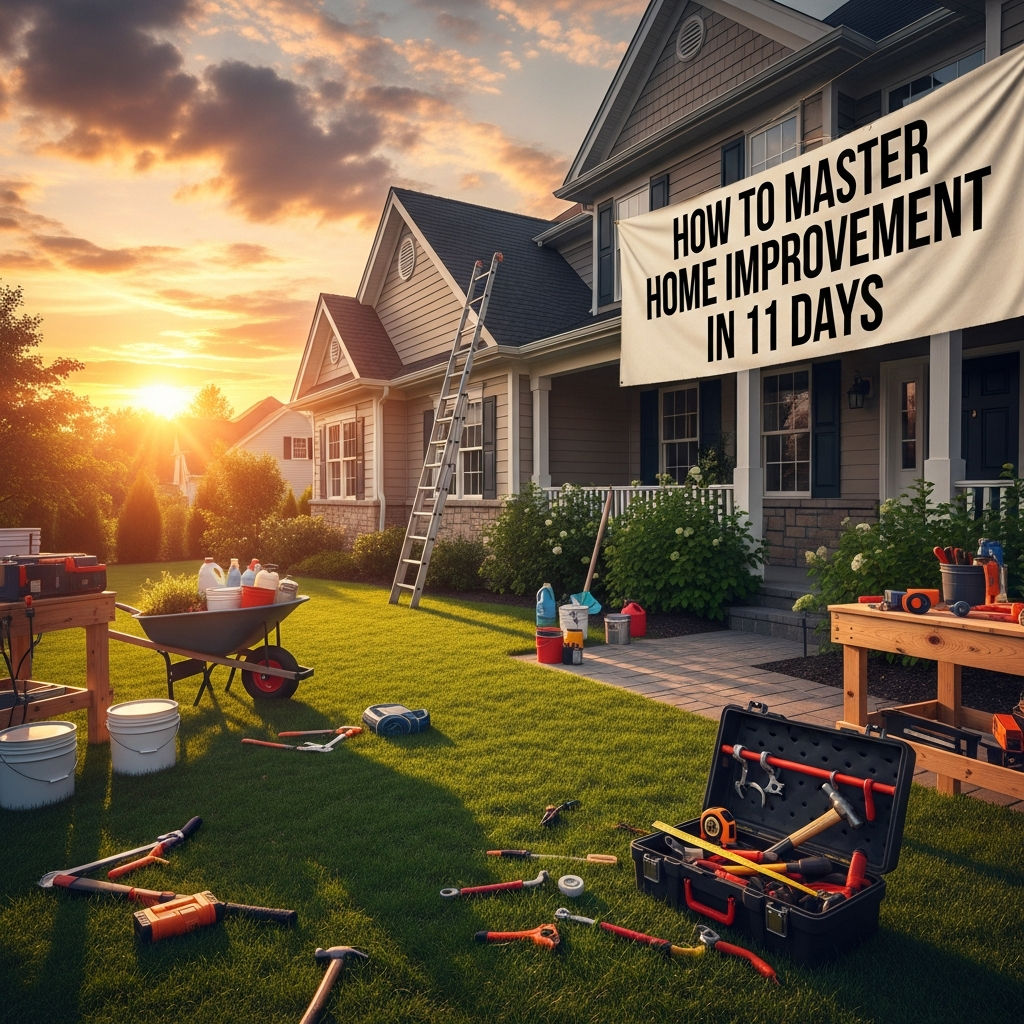
How to Master Home Improvement in 11 Days: The Ultimate Transformation Guide
The dream of a refreshed, modern, and high-functioning home often feels like a distant goal buried under months of construction dust and mounting bills. However, home improvement doesn’t always require a six-month timeline or a structural engineer. Mastery over your living space is about strategy, skill acquisition, and focused execution.
Whether you are looking to increase your property value for a quick sale or simply want to fall in love with your living room again, an 11-day intensive can yield professional-grade results. This guide breaks down the essential skills and projects needed to master home improvement in less than two weeks.
Day 1: The Vision and the Vault (Planning and Budgeting)
Every successful renovation begins before a single nail is driven. Day one is about assessment and triage. Walk through your home with a critical eye and a notebook. Master home improvement by identifying which projects offer the highest Return on Investment (ROI).
- Create a “Punch List”: Note every scuff, loose hinge, and outdated fixture.
- Set a Hard Budget: Allocate funds for materials, tools, and a 10% “surprise” buffer.
- Measurements: Measure your rooms, windows, and floor space twice. Digital blueprints or simple sketches will prevent multiple trips to the hardware store.
Day 2: Building Your Arsenal (Tools and Safety)
You are only as good as your tools. Mastering home improvement requires understanding the “Big Five” power tools: the drill, the circular saw, the sander, the miter saw, and the multi-tool. Spending day two acquiring or renting high-quality gear will save you hours of frustration.
Essential Safety Gear
- ANSI-rated safety glasses.
- N95 masks or respirators for dust and fumes.
- Durable work gloves and ear protection.
- A comprehensive first-aid kit.
Day 3: The Art of Decluttering and Preparation
You cannot improve a space that is crowded with “stuff.” Use day three to clear the canvas. Mastery involves seeing the architectural potential of a room without the distraction of clutter. Follow the “Three-Box Method”: Keep, Donate, or Trash.
Once the space is clear, perform deep cleaning. Scrubbing baseboards and removing cobwebs reveals the true condition of your walls and floors, allowing you to see where repairs are actually needed.
Day 4: Walls and Surface Preparation
Professional painters spend 70% of their time on prep and 30% on painting. Today, you master the “Prep.” Remove outlet covers, patch holes with spackle, and sand down uneven textures. Use painter’s tape with precision—this is the difference between a DIY look and a professional finish.
Key Skills to Learn:
- Spackling: Learning to feather the edges so the patch disappears.
- Caulking: Running a clean bead along baseboards and window frames.
- Sanding: Transitioning from coarse to fine grit for a glass-smooth surface.
Day 5: The Master Stroke (Painting Techniques)
Nothing transforms a home faster than a fresh coat of paint. To master this, avoid the “one-coat” myth. Apply a primer if you’re changing colors drastically, followed by two thin, even coats of high-quality latex paint.
Focus on “cutting in” around the edges first, then use a roller for the large sections. Remember: the “W” or “M” rolling pattern ensures even distribution and prevents those annoying “holidays” or missed spots.
Day 6: Lighting and Electrical Basics
Light is the most underrated element of interior design. On day six, master the art of the fixture swap. Replacing an outdated “boob light” with a modern pendant or a sleek flush mount can change the entire mood of a room.
Safety Warning: Always turn off the power at the breaker before touching any wires. Use a voltage tester to ensure the line is dead.
Lighting Mastery Tips:
- Layer Your Light: Combine ambient (overhead), task (under-cabinet), and accent (wall sconces) lighting.
- Switch to LEDs: Improve energy efficiency and color rendering (aim for 2700K to 3000K for a warm, inviting glow).
Day 7: Flooring and Trim Refresh
While installing hardwood might take longer, you can master flooring by refreshing what you have or using Luxury Vinyl Plank (LVP). LVP is the “holy grail” of quick home improvement; it’s waterproof, durable, and clicks together like a puzzle.
If your floors are in good shape, focus on the trim. A fresh coat of semi-gloss white paint on baseboards and door casings acts like a frame for a painting, making everything look crisp and intentional.
Day 8: Kitchen and Bathroom “Jewelry”
Full kitchen remodels are expensive, but mastering “Hardware and Fixtures” is affordable. On day eight, replace cabinet pulls, knobs, and faucets. These are the “jewelry” of your home.
- Uniformity: Match your finishes (e.g., all matte black or all brushed brass) across the room.
- Functionality: Upgrade to “soft-close” hinges for an instant luxury feel.
- The Faucet: Installing a high-arc kitchen faucet is a 30-minute job that provides a 100% improvement in daily utility.
Day 9: Curb Appeal and Exterior Impact
Your home’s first impression happens at the sidewalk. Day nine is dedicated to the exterior. Mastery here involves “Tidy and Pop.”
- Pressure Washing: Blast away years of grime from the driveway and siding.
- The Front Door: Paint your front door a bold, welcoming color (Navy, Sage, or Classic Red).
- Landscaping: Fresh mulch and trimmed hedges provide an immediate “face-lift” for the property.
Day 10: Smart Home Integration
Modern mastery includes technology. Use day ten to bring your home into the 21st century. These upgrades are usually “plug-and-play” but add significant perceived value.
- Smart Thermostats: Better climate control and energy savings.
- Video Doorbells: Increased security and convenience.
- Smart Locks: Keyless entry for a modern lifestyle.
Day 11: The Final Polish and Audit
The final day is about the “Final 5%.” This is where most DIYers fail, but where masters excel. Walk through your home with a flashlight and a roll of blue tape. Mark every tiny imperfection—a drip of paint, a loose screw, a dusty corner—and fix them one by one.
Once the fixes are done, stage the home. Add fresh towels to the bathroom, a new rug in the entryway, and a bowl of fresh fruit in the kitchen. You haven’t just improved your home; you’ve mastered the environment.
Conclusion: The 11-Day Transformation
Mastering home improvement isn’t about becoming a licensed contractor overnight; it’s about understanding the sequence of tasks and the importance of detail. By following this 11-day blueprint, you move from the chaos of “fixing things” to the precision of “improving life.”
The skills you’ve learned—painting, basic electrical, hardware installation, and strategic planning—are assets that will stay with you for a lifetime. Now, step back, take a photo of your hard work, and enjoy the comfort of a home that truly reflects your best self.